![]()
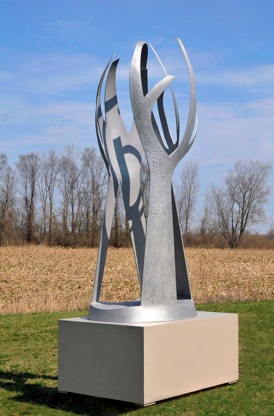
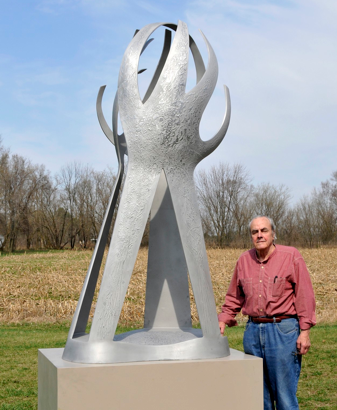
Michigan Spring
![]()
Michigan Spring
Michigan Spring
Cast Aluminum 8’ 6” high
This sculpture was commissioned by Milan Cast Metals, a foundry located in Milan Michigan. I made the patterns in my studio, the castings and finishing was done at the foundry. The following pages illustrate the various procedures required to make this sculpture. See the process of creating Michigan Spring below.
I made a small wax model of the sculpture about a foot high then with a height gage scribed horizontal section lines every 1/4” which represented 2” on the 8’ high sculpture. These section lines were then transferred to full sized sections of 2” styrofoam. Which were then cut to shape and glued together on a grid. These photos show the shaping of of the rough styrofoam to the finished plaster sculpture.

Styrofoam sections on the grid.
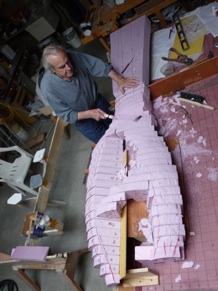
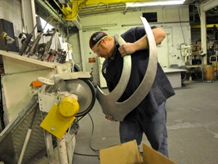
Jim shaping the styrofoam.
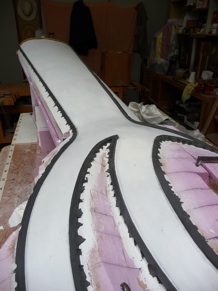
Styrofoam is coated with a smooth coat of plaster and a clay fence 3/8” thick applied to define the outside shape of the sculpture.
Plaster being applied to the styrofoam.

3/8" plaster shell with clay fence removed.
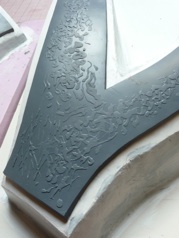
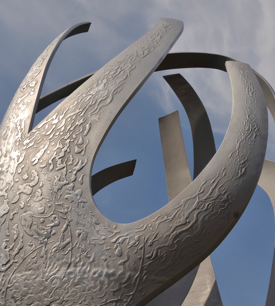
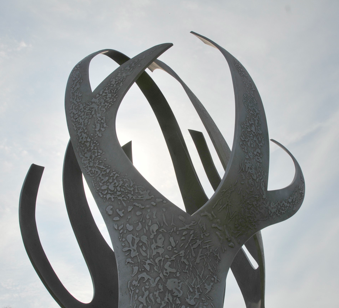
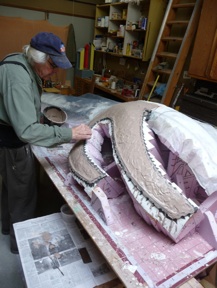
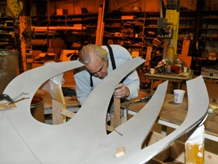
Detail of the finished plaster surface.
The sculpture is divided in three vertical sections and a base, which will be an integral part of it. I devised a method of casting whereby each part or pattern, though built as one piece. had to be divided into three sections to enable the casting by the foundry. Each section was designed with it’s own base, or in foundry terminology a “ follow board. The follow board is designed so that the sand mold can be removed - without damage, from the pattern. When the pattern is still in one piece a welding jig , or form is built to match the surface so the separate pieces can be reassembled and accurately welded together.
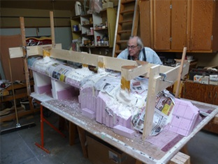
Building the Welding Jig.
The finished plaster in place on the welding jig.
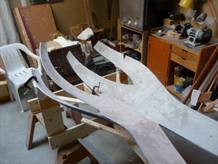
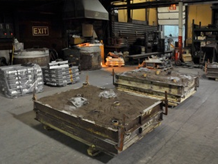
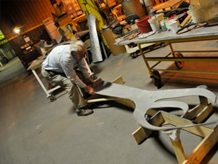
Plaster patterns on follow boards.
Plaster patterns on follow boards.
In the foundry - sand mold making and aluminum casting.
Packing the sand around the pattern in a steel frame.
The sand mold ready for casting.

Pouring the melted aluminum.
Separating the mold.

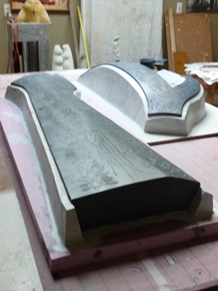
Rough castings with vents and gates.
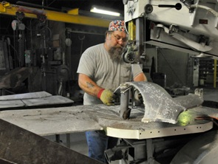
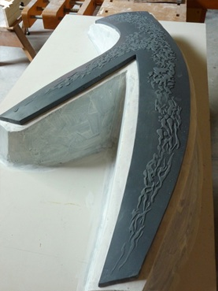
Removing vents and gates.
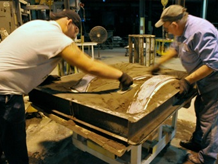
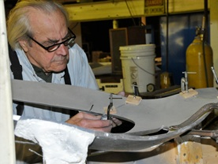
Grinding the joint before placing section on the jig.
Placing casting on the jig.
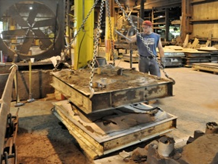
Cast aluminum section being adjusted on jig.
Clamping sections in position for welding.
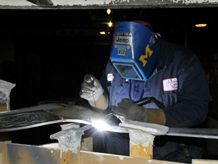
Welding sections on both sides.
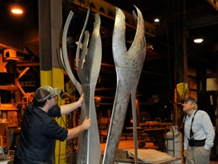
Completed sections being placed on a temporary base.